You can easily enable the resource monitoring on Digital Oceans VPS, the droplets.

digital-ocean-install-monitor-agent-command-line
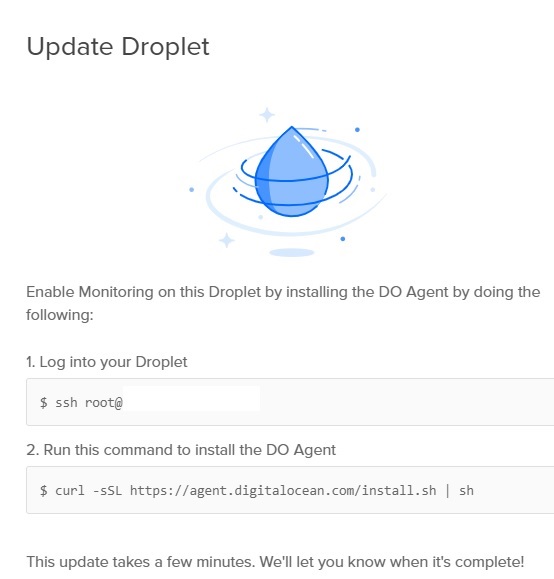
You first need to SSH connect and switch to your root account (or other sudo accounts) and type in the following:
1 | curl -sSL https://agent.digitalocean.com/install.sh | sh |
curl -sSL https://agent.digitalocean.com/install.sh | sh
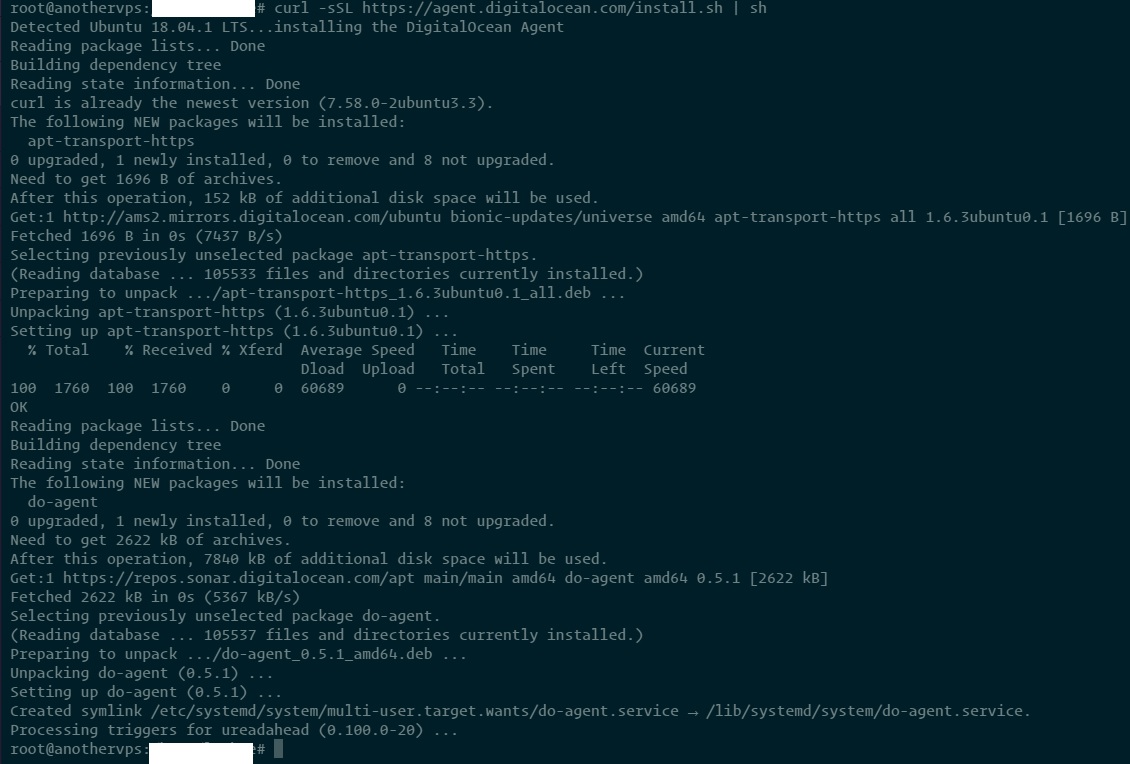
The script will install the monitoring daemon on your server – which shouldn’t take long:

digital-ocean-install-monitor-agent
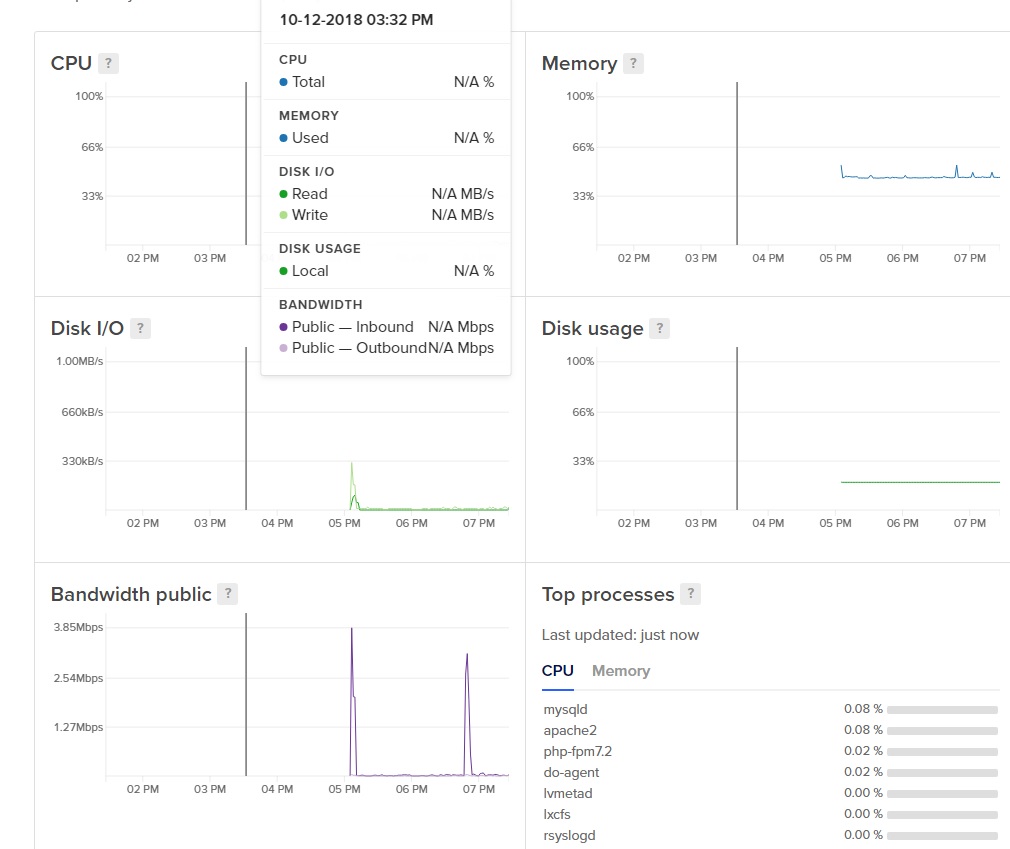
And after a few minutes, you should see the resources usages on your Digital Oceans dashboard.

digital-ocean-resource-monitoring-on-droplets-vps
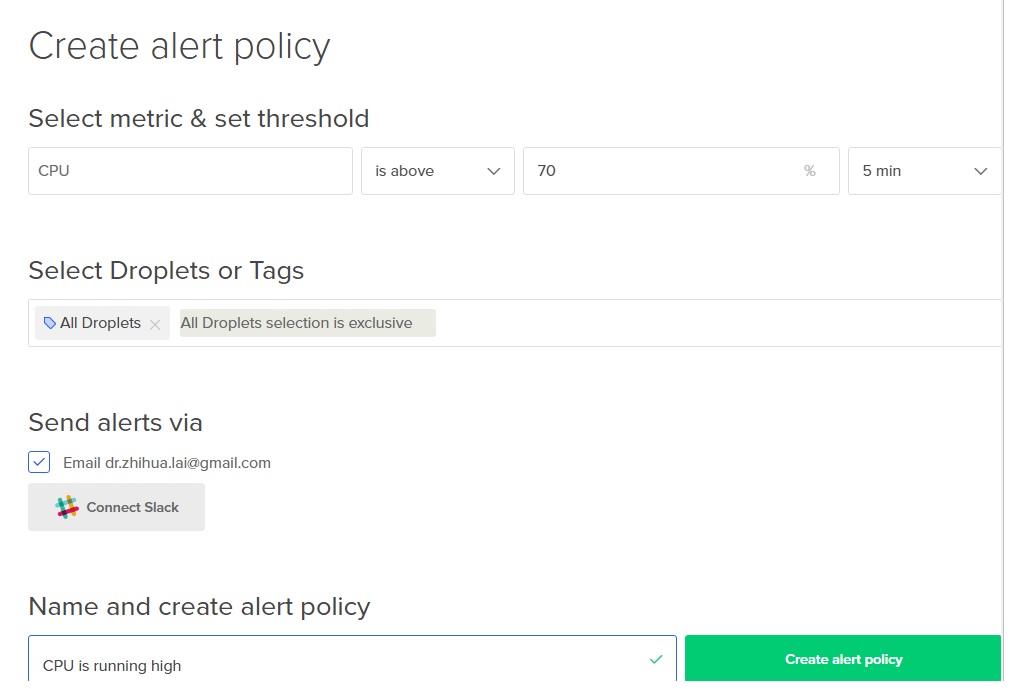
After Resource Monitoring is enabled, you can also create alerts to send notification when e.g. CPU usage is too high for 5 minutes or memory usage is too high etc.

create-alert-policy-on-digital-ocean-vps-cpu-too-high
Monitoring the Digital Oceans droplets becomes easy without need to login to console. All Resources are monitored and shown on the dashboard.
AMP Version This post has 283 words.